Claude Desktop
Follow this page and you can ask Claude things like "which of my devices are online?" or "run a benchmark of this model", and Claude answers from the CLIKA Platform. It takes about five minutes. You need Claude Desktop installed on your computer and an account on the CLIKA Platform.
Step 1. Get a key and the extension
-
Sign in to the CLIKA Platform (for example
platform.clika.io) and open Settings, then Developer access. -
Press Create key.
- Key name:
claude-desktop. - Start from a template: Worker. Claude can then look at your devices and also run benchmarks for you.
- Leave everything else as it is, and press Create.
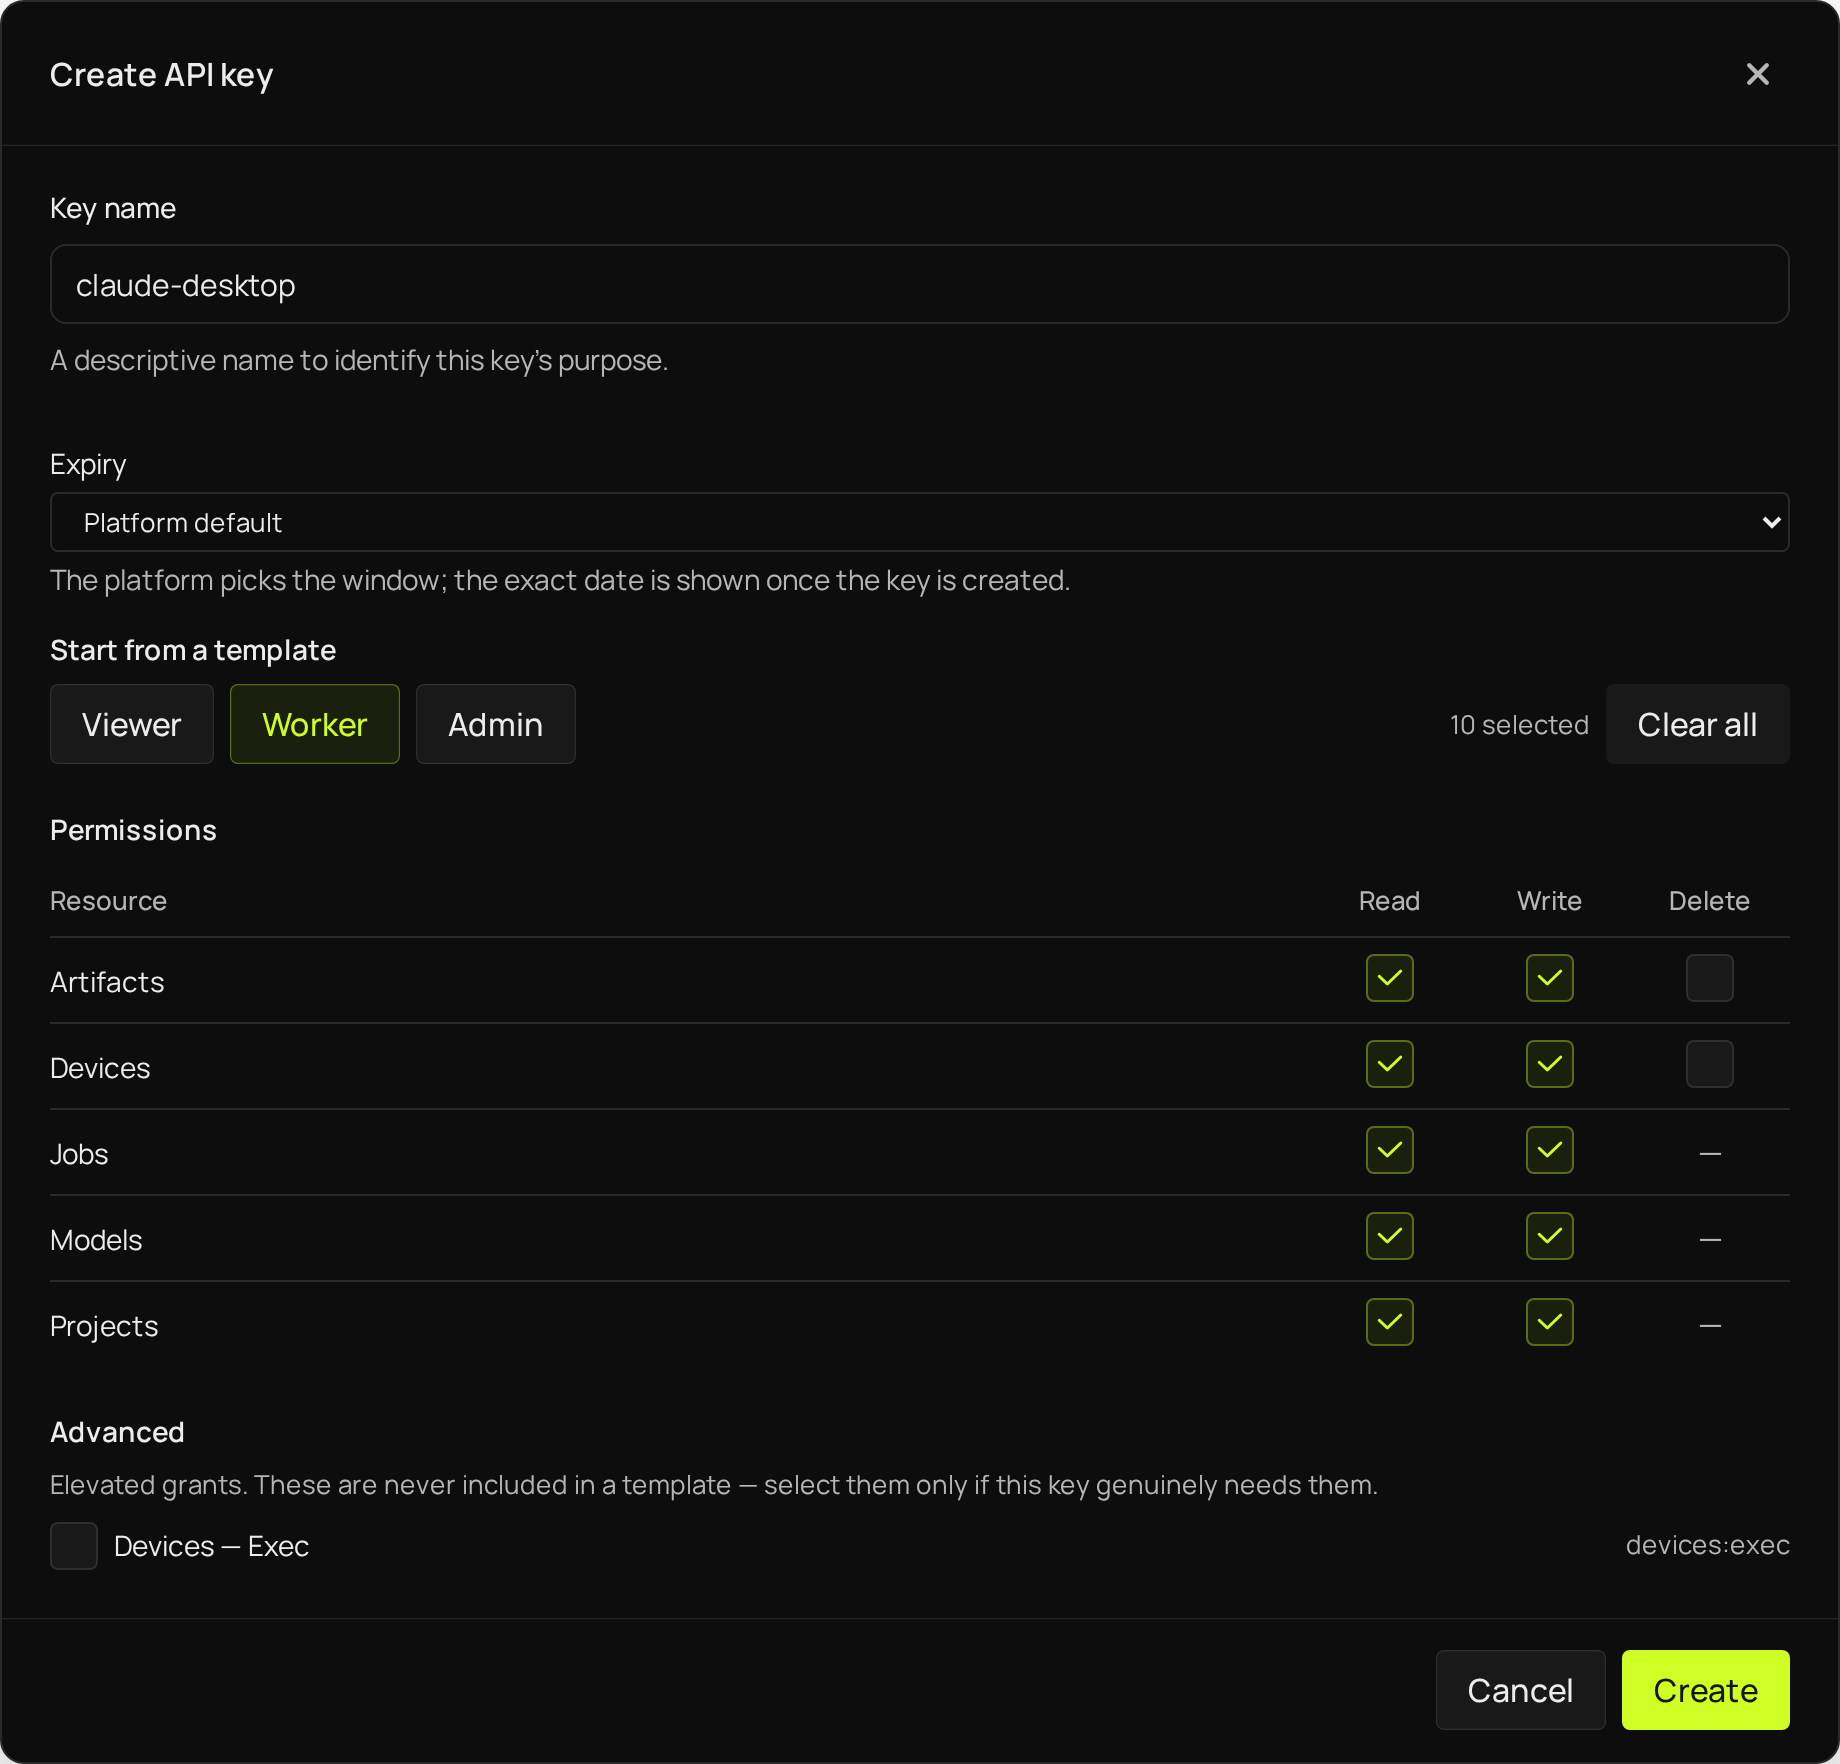
- Key name:
-
Press the copy button next to the key and paste the key somewhere for a moment, for example in a note. It is shown only once: after you press Done, you cannot see it again.
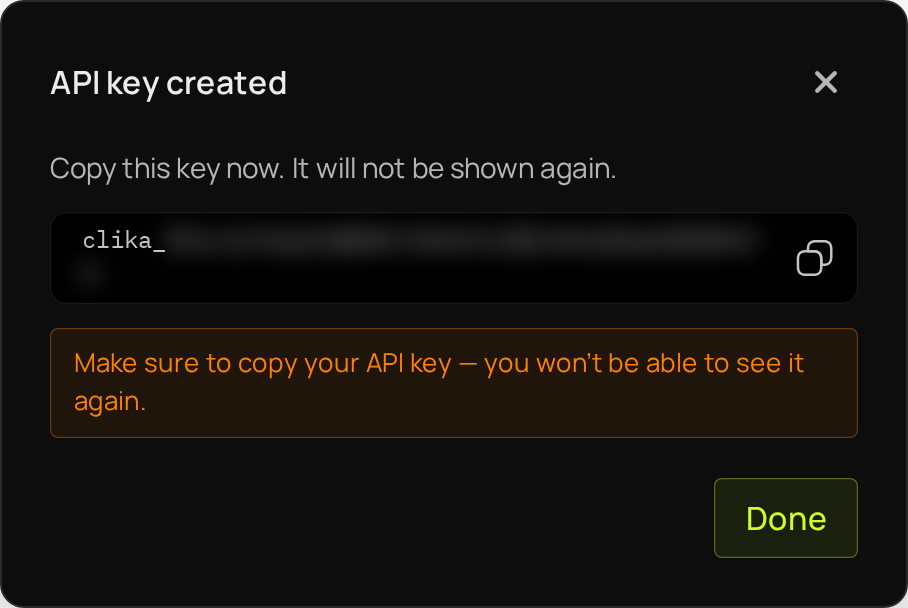
-
On the same page, find the Claude Desktop card. Check that the selected tab matches your computer, and pick the right one if it does not:
- A Mac: macOS (Apple Silicon). Macs with an Intel processor are not supported.
- A Windows PC: Windows (x86_64). Pick Windows (arm64) only on a Windows laptop with a Snapdragon processor.
- A Linux PC: Linux (x86_64), or Linux (arm64) on an Arm computer.
-
Press the download button under the tabs, for example Download for Windows (x86_64). If the button no longer works, press Refresh Links and try again.
Step 2. Add the extension to Claude Desktop
-
In Claude Desktop, open Settings. On Windows and Linux, open the menu at the top left and choose File, then Settings, or press
Ctrl+,. On macOS, press⌘,. -
Choose Extensions. The page ends with the line Drag .MCPB or .DXT files here to install.
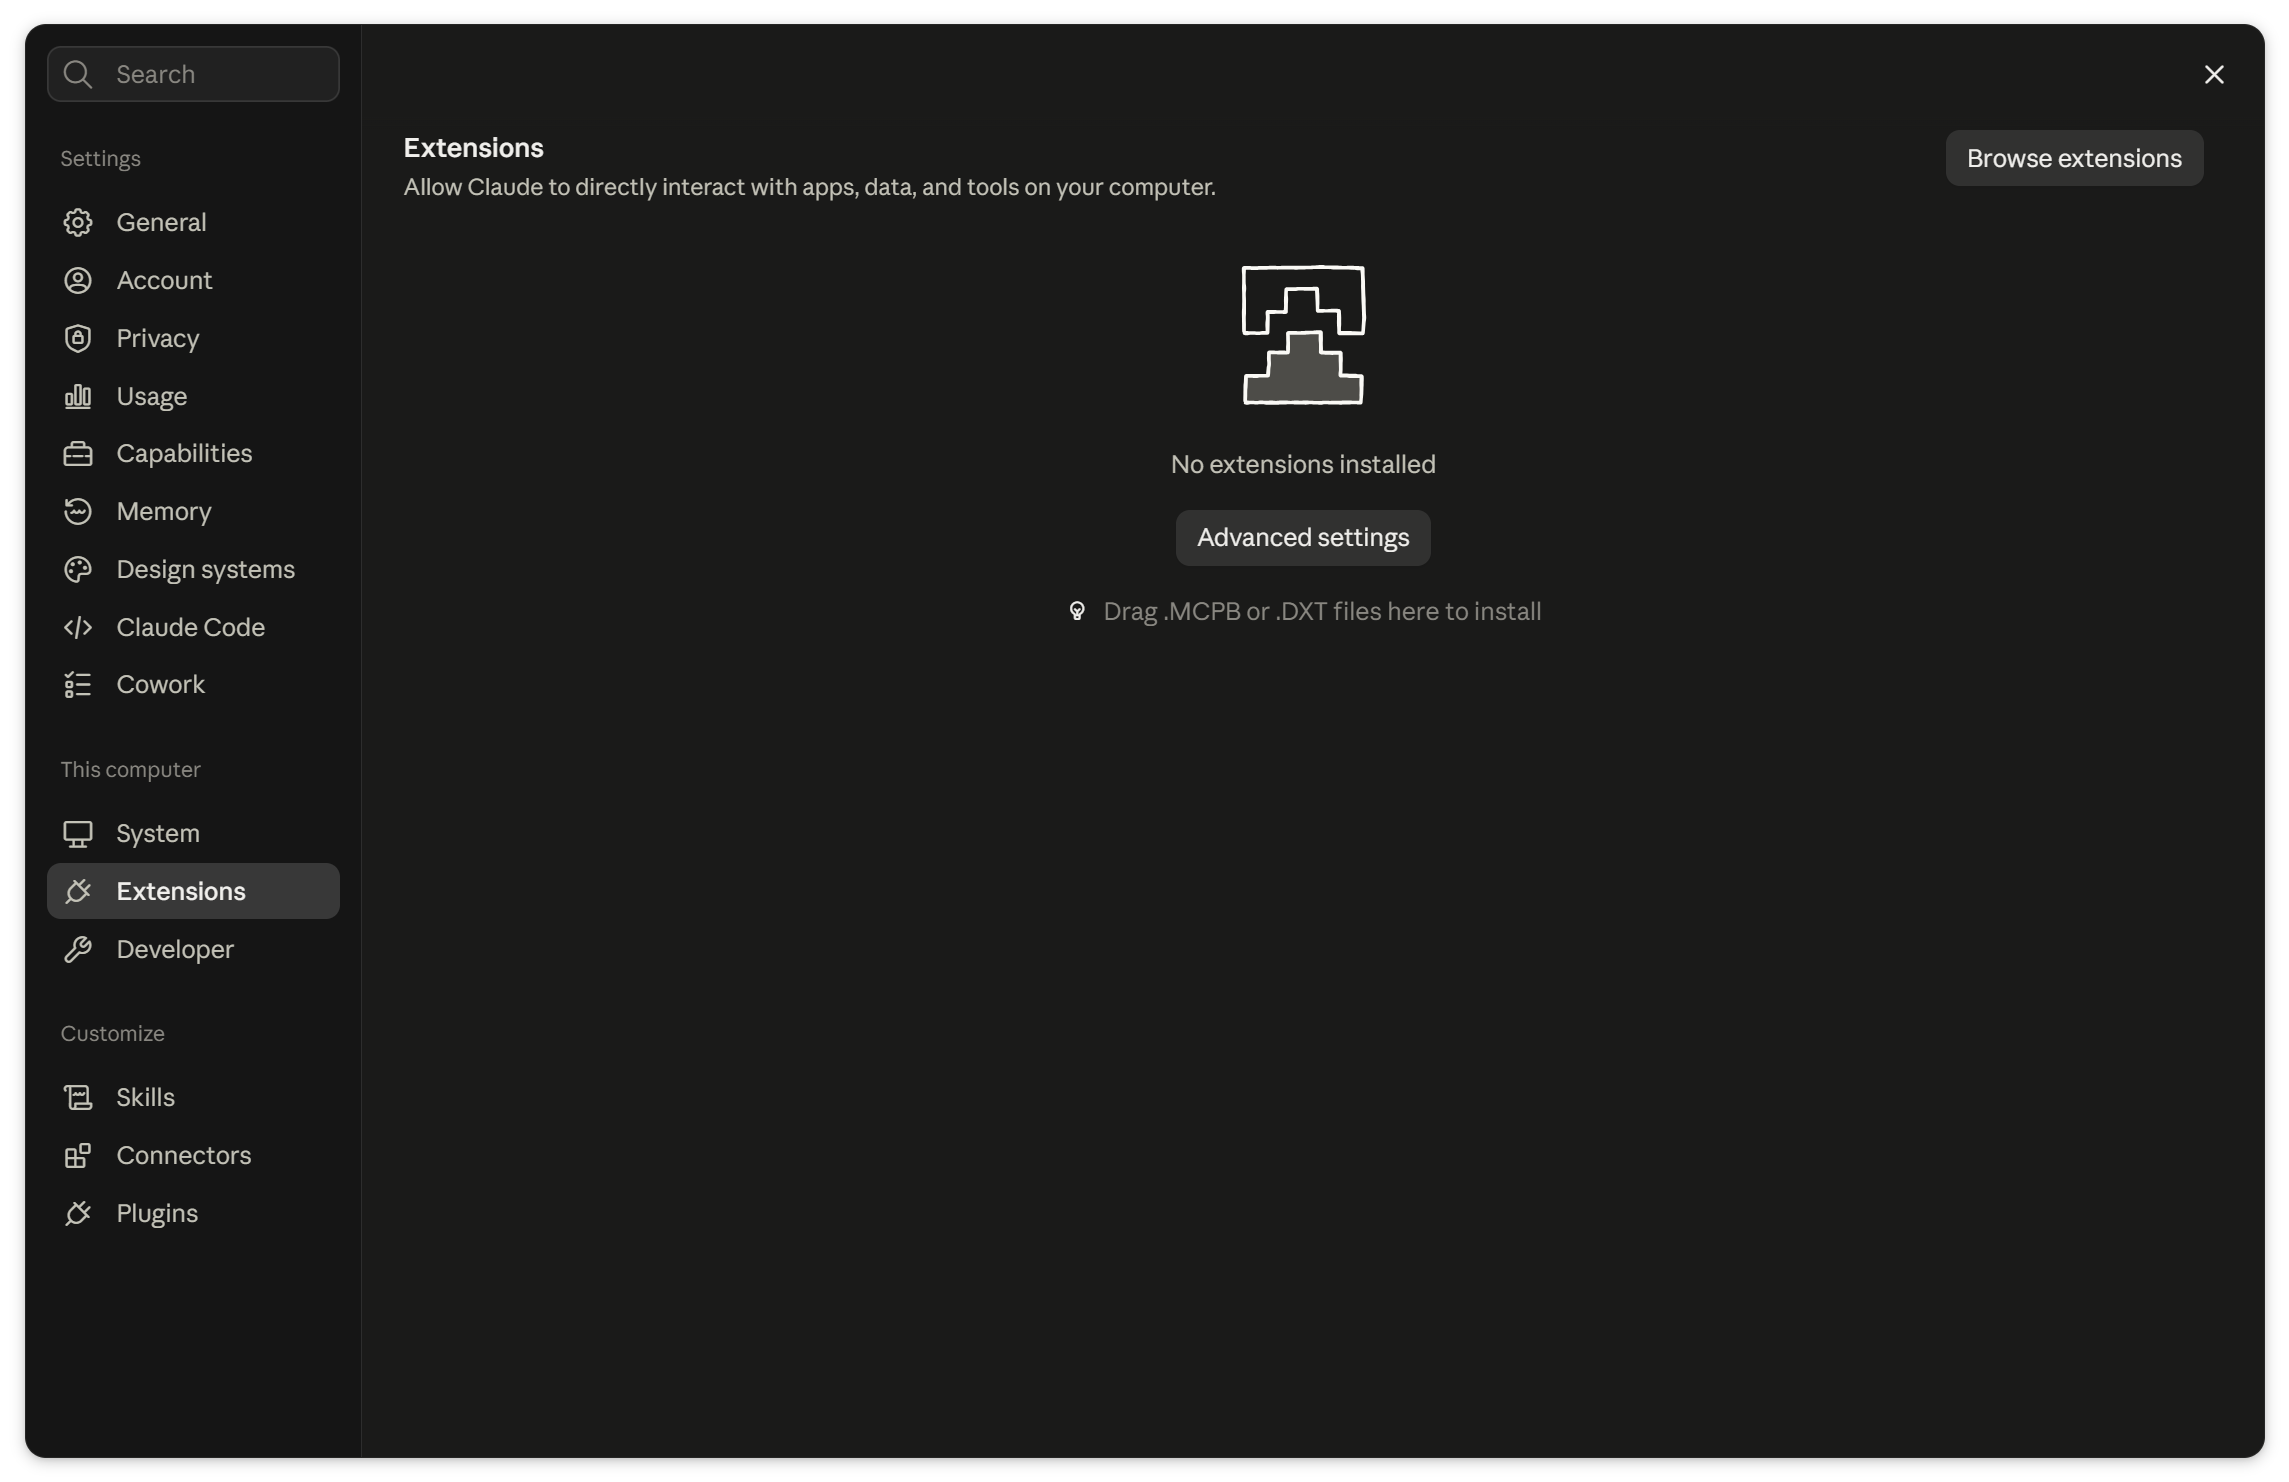
-
Drag the file you downloaded in step 1 (its name ends in
.mcpb) from your Downloads folder onto that page.If that doesn't work, add the file this way instead:
- On the same page, press Advanced settings.
- Under Extension developer, press Install extension and choose the file you downloaded.
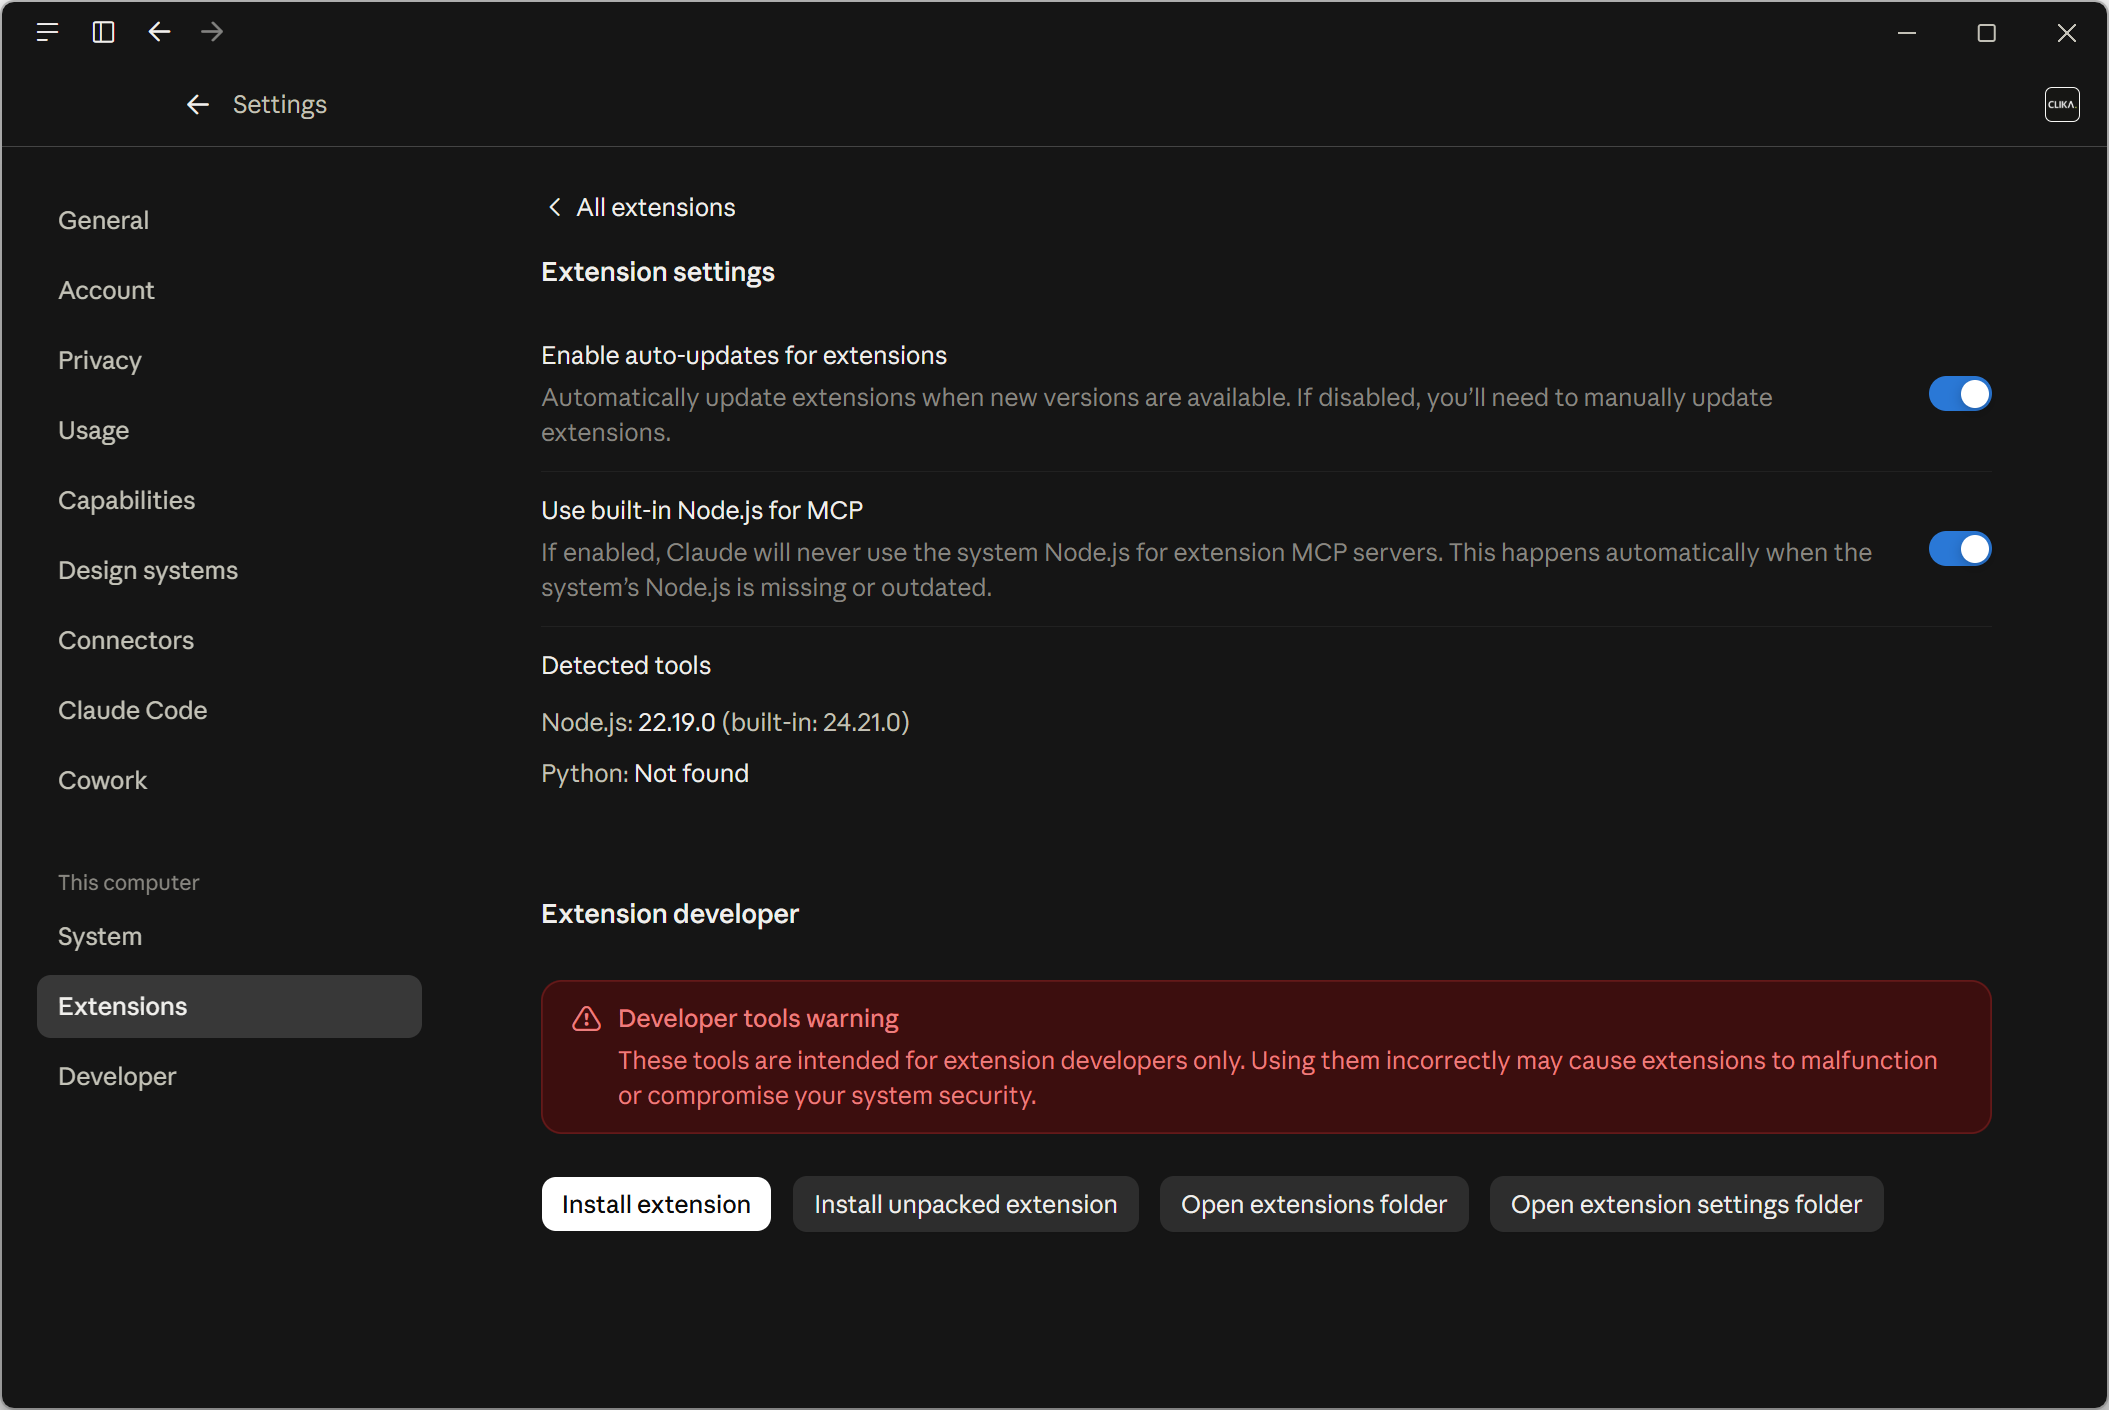
-
The page for Clika Platform opens. Press Install.
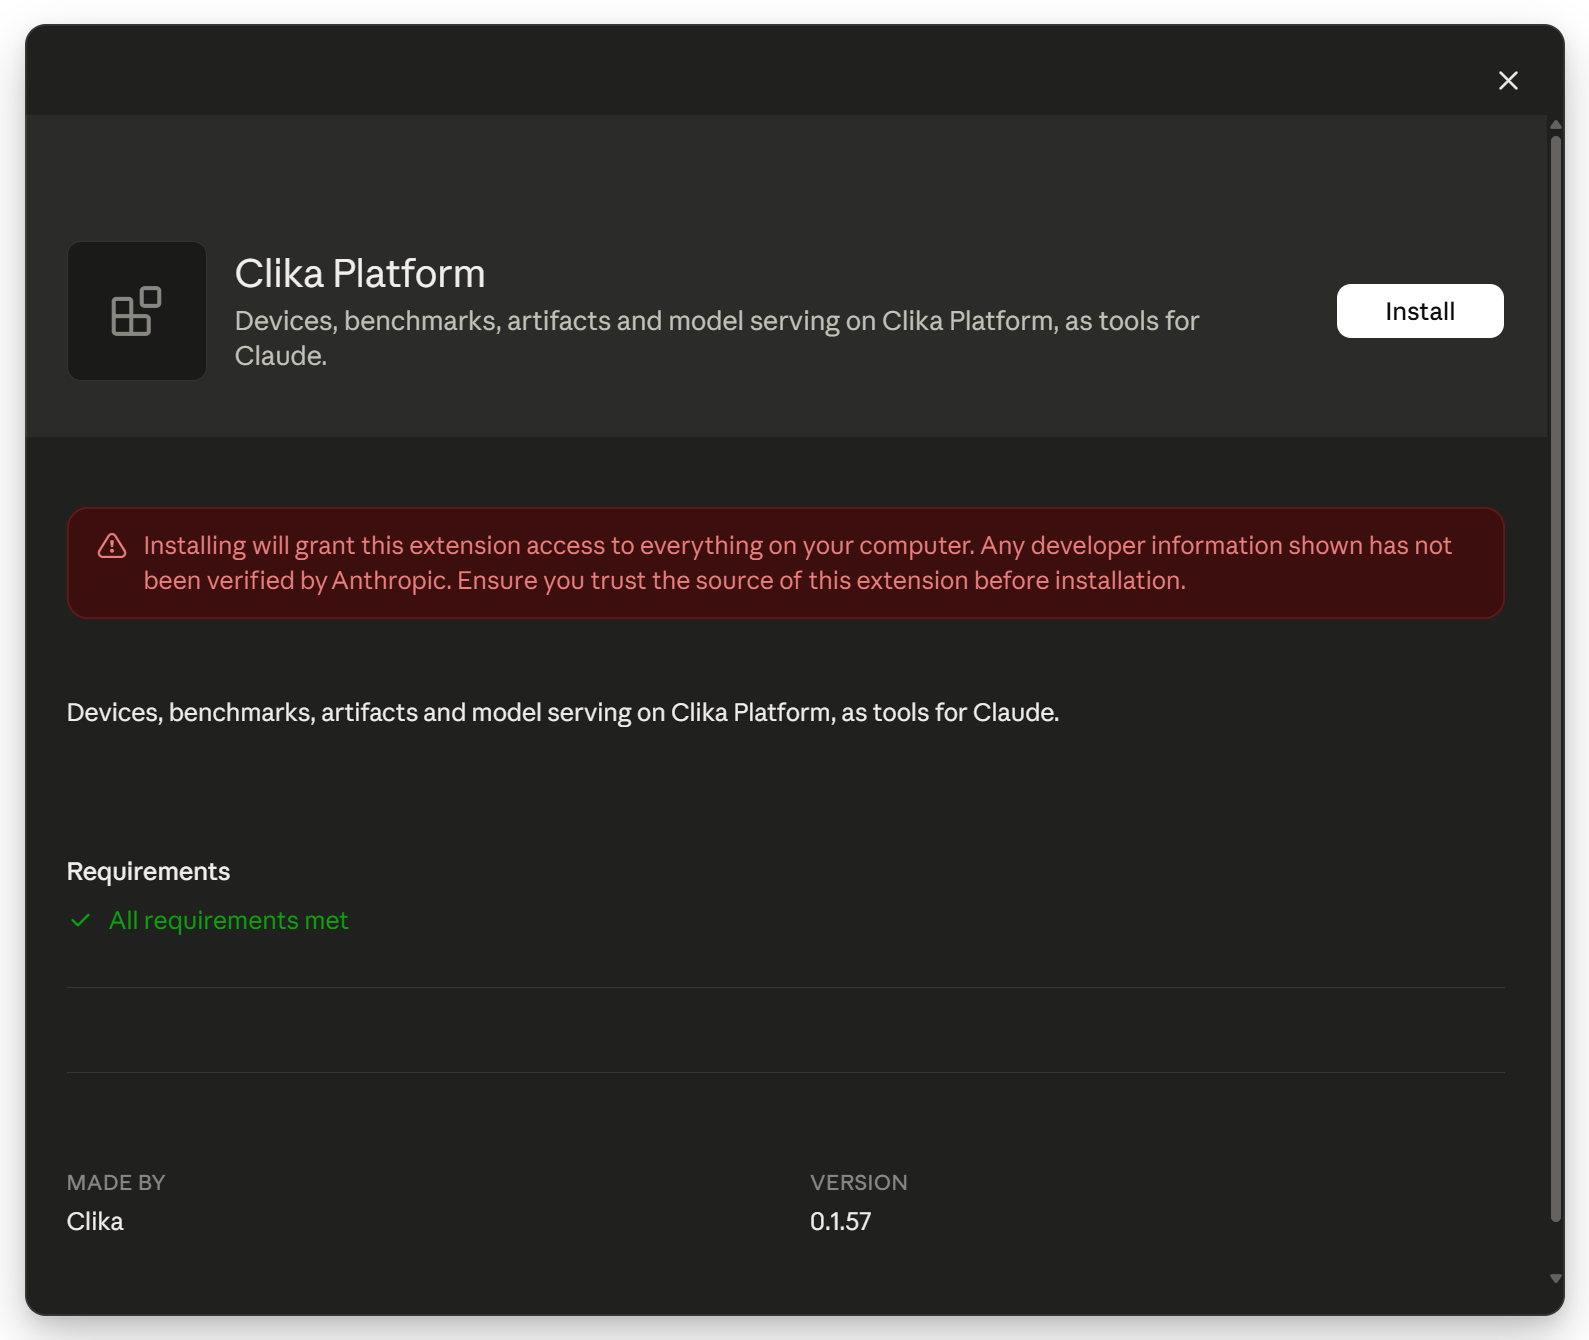
-
When asked Do you want to install Clika Platform?, press Install.
-
In Configure Clika Platform, paste the key you copied in step 1 into API key. Leave Platform URL as it is, and press Save.
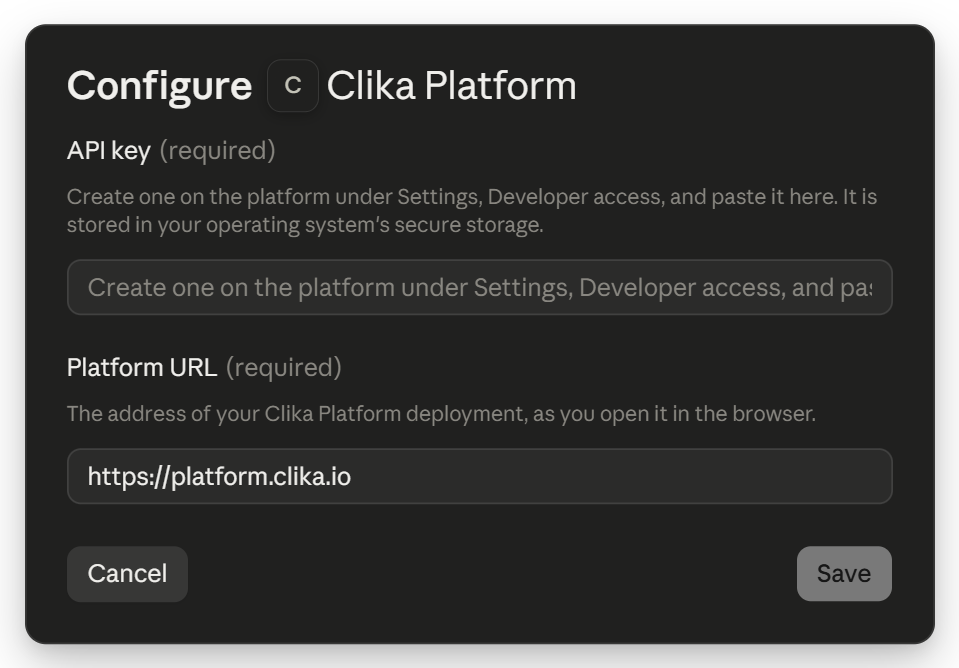
-
The extension is added turned off. Switch the toggle that reads Disabled so that it reads Enabled.
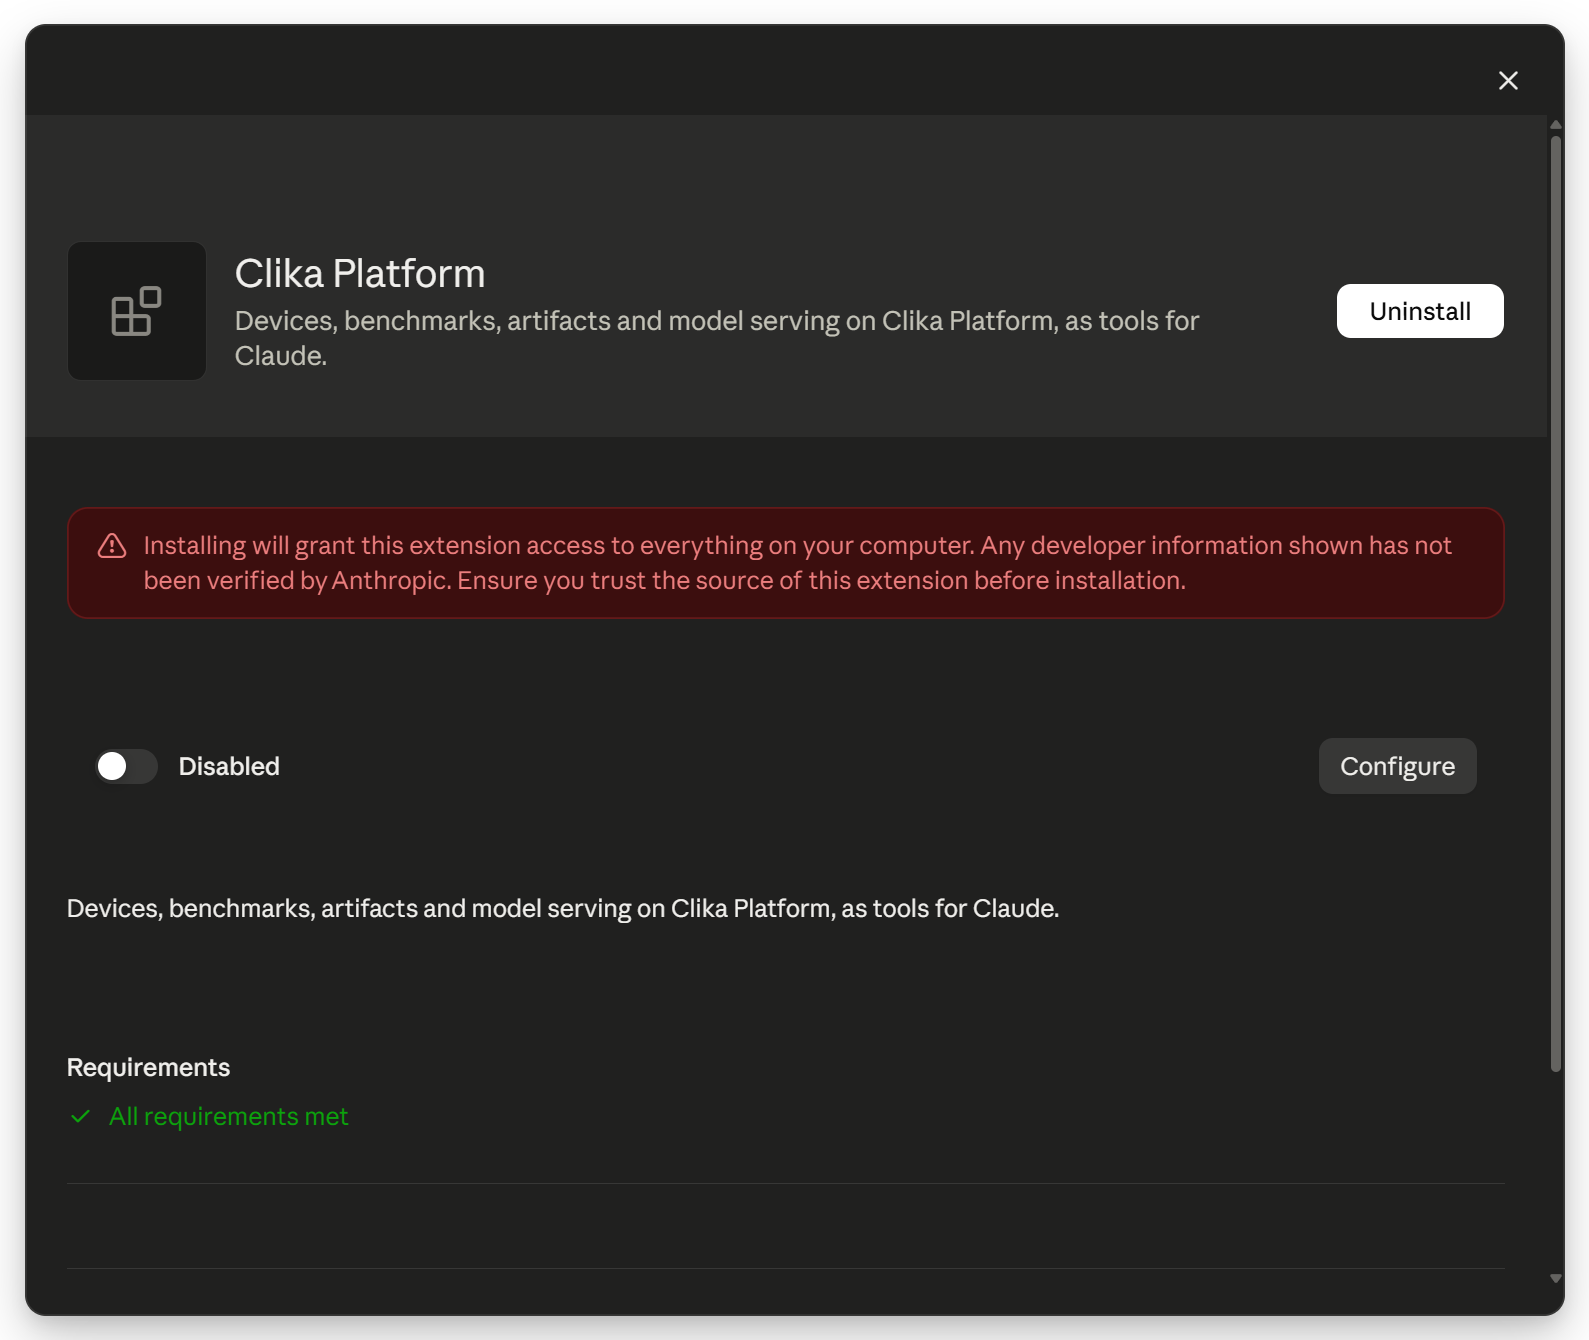
Step 3. Try it
Close Settings, start a new conversation in Chat, and ask:
Which of my Clika Platform devices are online?
The first time, Claude asks for permission to use the platform. Press Always allow, or Allow once to be asked again next time. When Claude answers with your devices, you are ready.
If it does not work
- Check that the extension's toggle reads Enabled (Step 2, 7).
- Check that you pasted the whole key. It starts with
clika_. - A key stops working 90 days after you created it. Create a new one (Step 1) and put it in with Configure next to Clika Platform in Settings, Extensions.
- Quit Claude Desktop completely and open it again.
If it still does not work, see Troubleshooting.
Remove it
Open Settings, then Extensions in Claude Desktop. Press Configure next to Clika Platform, then Uninstall, and confirm with Uninstall. Claude Desktop removes the extension and the key you entered.
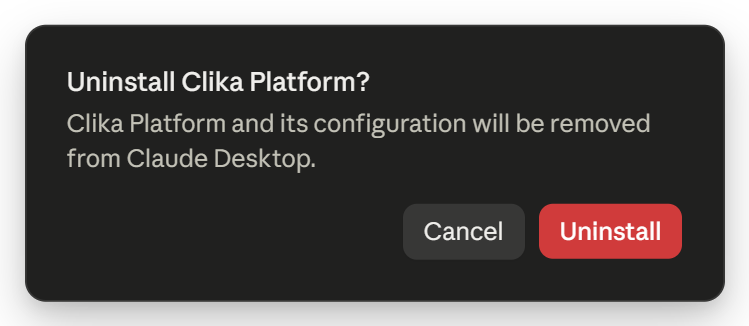
If nothing else uses the key, revoke it on the platform under Settings, then Developer access.
Good to know
- A key stops working 90 days after you created it. Create a new one and put it in with Configure.
- When the CLIKA Platform is updated, download the extension again (Step 1) and add it the same way (Step 2).
For advanced users
The extension is a .mcpb file that carries the CLIKA CLI and the settings Claude Desktop needs to start it. Your deployment builds it from the CLIKA CLI it serves, so the extension's version is the deployment's CLI version, and it runs clika-cli mcp with the URL and the key you entered: it serves the api-key toolset, and of that the tools your key can call. It is offered for Linux and Windows on x86_64 and arm64, and for macOS on Apple silicon.
If you already use the CLIKA CLI, you can register Claude Desktop with it instead of the extension, or write the entry by hand.
A self-signed certificate
The extension cannot skip certificate verification. On a deployment with a self-signed certificate, register with clika-cli mcp install claude-desktop --insecure-tls instead (next section).
Register with the CLIKA CLI
With the CLIKA CLI installed and logged in (Get started with the CLI), one command registers the platform:
clika-cli mcp install claude-desktop
It adds an entry named clika-platform to claude_desktop_config.json. The entry runs the CLIKA CLI as a bridge to the deployment's MCP endpoint (clika-cli --profile default mcp --remote), so the tools follow the deployment with no extension to update. The entry holds no API key: the CLIKA CLI reads the key from its profile each time Claude Desktop starts it.
The command finds the file Claude Desktop reads on each operating system, including the Microsoft Store install on Windows, and clika-cli mcp status shows which file it chose and why. Before writing anything it checks the profile's key with one request to the deployment. If the profile has no key or the deployment refuses it, the command offers to log in when it runs at a terminal, and prints the login command to run otherwise. If Claude Desktop is running, the command says so. Restart it to load the server.
clika-cli mcp install claude-desktop --profile onprem --insecure-tls
clika-cli mcp install claude-desktop --dry-run
--profile registers another deployment's profile, --insecure-tls adds the flag to the entry for a deployment with a self-signed certificate, and --dry-run prints the entry without writing it. The CLI reference lists every flag.
Add the entry by hand
Log in with the CLIKA CLI first (clika-cli --base-url https://platform.clika.io login), then add the entry to Claude Desktop's config file:
| Operating system | File |
|---|---|
| macOS | ~/Library/Application Support/Claude/claude_desktop_config.json |
| Linux | ~/.config/Claude/claude_desktop_config.json, or $XDG_CONFIG_HOME/Claude/claude_desktop_config.json when XDG_CONFIG_HOME is set |
| Windows, Microsoft Store install | %LOCALAPPDATA%\Packages\Claude_*\LocalCache\Roaming\Claude\claude_desktop_config.json |
| Windows, standalone installer | %APPDATA%\Claude\claude_desktop_config.json |
The entry runs the CLIKA CLI by its absolute path, with the profile that holds your key:
{
  "mcpServers": {
    "clika-platform": {
      "command": "/usr/local/bin/clika-cli",
      "args": ["--profile", "default", "mcp", "--remote"]
    }
  }
}
On Windows the path is the one the installer printed after installed clika-cli to, with each backslash doubled, for example "C:\\Users\\you\\AppData\\Local\\Programs\\clika\\bin\\clika-cli.exe". For a deployment with a self-signed certificate, add "--insecure-tls" before "mcp". Keep any other servers already in mcpServers. If Claude Desktop is running, restart it.
An entry you write by hand is yours: mcp install and mcp uninstall never change or remove it. If it uses the name clika-platform, mcp install refuses that name and asks for --name.
Remove a CLIKA CLI or hand-written entry
An entry registered with the CLIKA CLI is removed with the CLIKA CLI, which deletes the entries mcp install added for the profile and leaves every other entry alone:
clika-cli mcp uninstall claude-desktop
An entry written by hand is deleted from the config file by hand. In both cases, if Claude Desktop is running, restart it. If no other client uses the API key, revoke it under Settings, then Developer access.